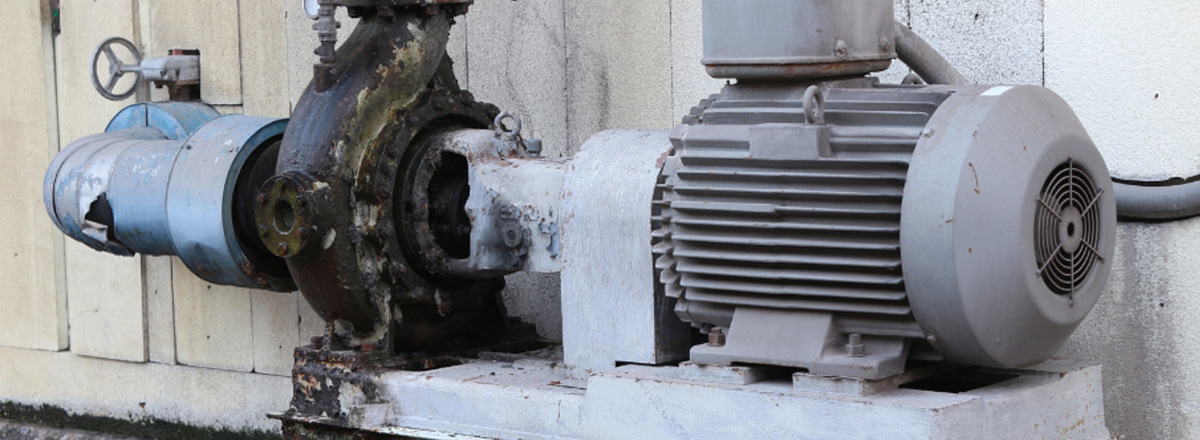
How to Install Mechanical Seals in Centrifugal Pumps
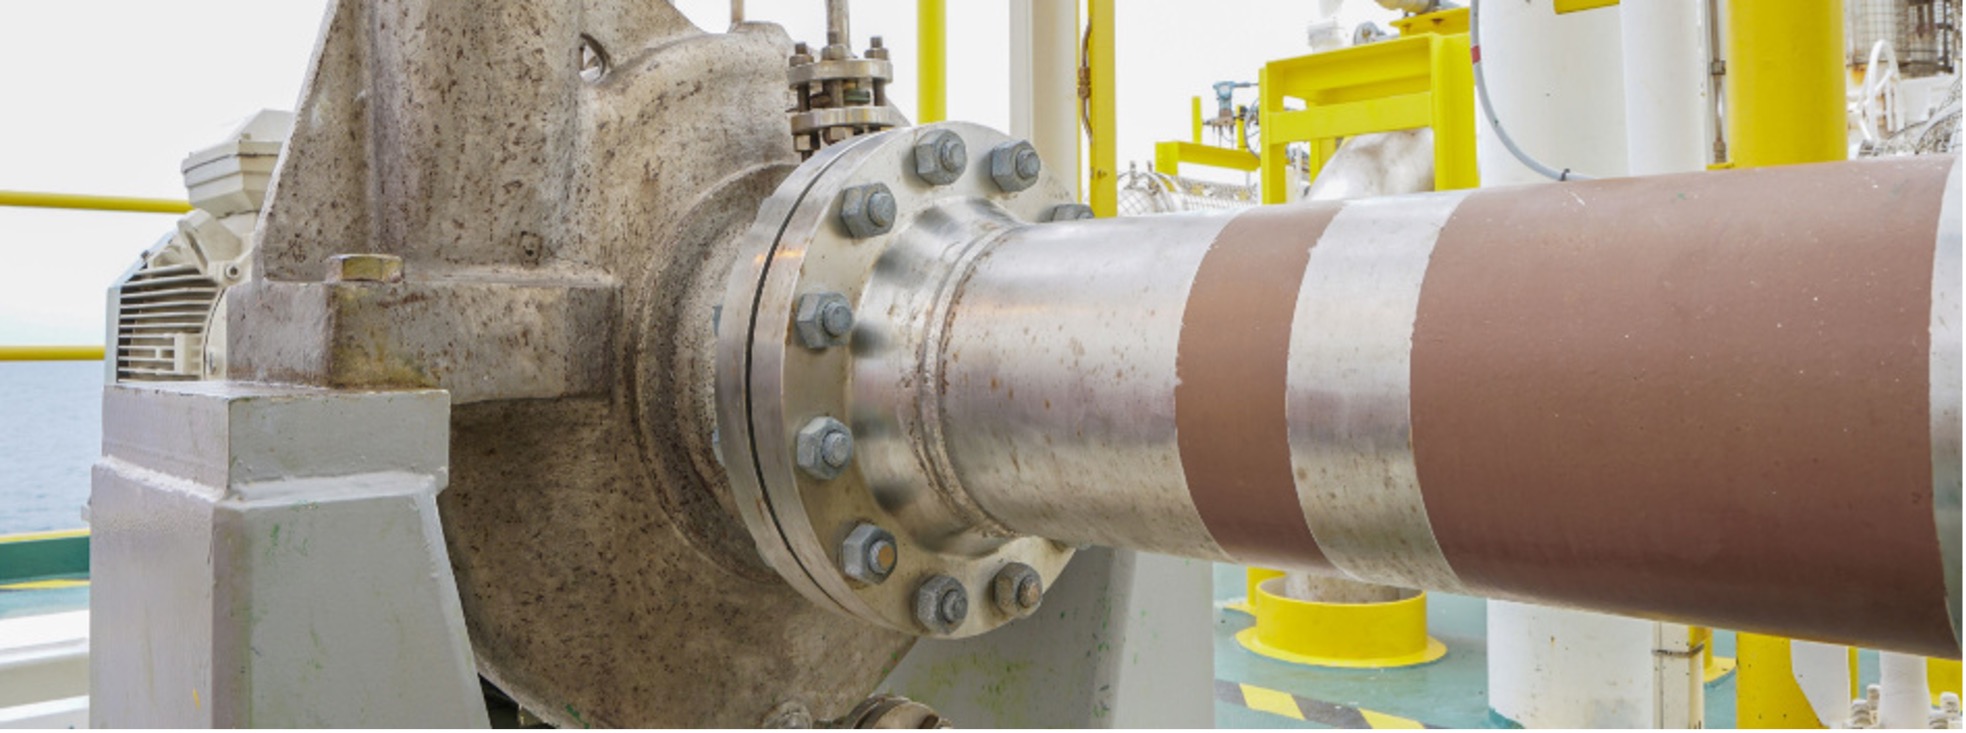
The rotating shaft of a centrifugal pump penetrates the back end of a pump casing through a stuffing box or seal chamber. The primary purpose of a mechanical seal in a centrifugal pump is to prevent fluid from leaking to the atmosphere along this rotating shaft. Selection of the right mechanical seal for each pump application is critical when considering safety and reliability. Mechanical seal failure is typically one of the primary reasons why pumps fail.
In this guide, the experts at PumpWorks will show you the steps to install a mechanical seal in your centrifugal pump with minimal downtime.
First, Let’s Discuss How a Mechanical Seal Works in A Pump
A mechanical seal requires two extremely smooth and flat (lapped) seal faces in contact, one rotating with the shaft and the other stationary with the casing. These seal faces are sealed to their appropriate holders through the use of secondary seals (o-rings or gaskets). The faces are mechanically energized and flexible so that they can be placed into contact and move to make up for static and dynamic misalignments as well as wear. The seal faces require lubrication from the fluid and break down this fluid as it tries to escape through the seal faces, resulting in slight vapor release. All mechanical seals leak…vapor…when selected and sized correctly.
Steps for Replacing Mechanical Seals in Centrifugal Pumps
You may be wondering how long the mechanical seal installation procedure will take. By following the 10 simple steps listed below, you’ll have the job done in no time.
1. Cut the Power
The first step is to power off the centrifugal motor so that it is not in motion. Shut down the main power supply and double-check that there is no chance of the machine starting up again. Once this is done, it’s time to get to work!
2. Isolate the Fluid from the Pump
Shut both inlet and outlet isolation valves and then drain the pump casing by removing the casing drain plug.
3. Disconnect the Centrifugal Pump
If your pump is a ‘back pull-out’ design, remove the spacer element in the pump coupling. Then remove the casing bolts and slide the remainder of the pump away from the casing. You are now able to access the mechanical seal without having to disconnect the casing from the inlet and outlet piping. If the pump is not a ‘back pull-out’ design, you will need to disconnect the complete pump after disconnecting the coupling between the pump and motor shaft. If the pump is a close coupled design (the pump uses the shaft of the motor as its shaft and the motor directly bolts onto the back of the pump), you will need to remove the entire pump/motor. Remove the casing bolts and remove the casing.
4. Remove the Impeller
The mechanical seal is located behind the impeller on the pump shaft. Impellers are either screwed onto the shaft or held in place via a bolt. To remove the screwed-on impeller from the shaft, use a wrench to hold the shaft in place and rotate the impeller clockwise until it is completely unscrewed. To remove a bolted impeller, hold the shaft in place and remove the bolt.
5. Detach the Seal
You can now directly access both the rotary and stationary seal parts. The rotary parts are typically held in place along the shaft using set screws. Remove the set screw and slide off the rotary seal parts. Remove the stationary part of the seal from the casing or seal chamber bore.
6. Replace the Seal
Now it’s time to place a new mechanical seal onto the shaft. Carefully slide the replacement seal parts along the shaft. Using a new o-ring or gasket material, press the stationary part into the casing or seal chamber bore. Follow the instructions for setting the rotary portion back onto the shaft correctly. This is a crucial step.
CAUTION: Always install mechanical seals in a clean working space. Don’t touch the front of the seal faces as it is susceptible to body oils and may not function properly if compromised. Keep the seal in its packaging until it’s time to install.
7. Install the Impeller
Use your wrench to hold the shaft in place while you screw the impeller onto the pump’s shaft using a new impeller o-ring or gasket. Or use the impeller bolt and a new o-ring or gasket to attach the impeller to the end of the shaft.
8. Reconnect the casing using the original casing bolts
For back pull-out designs, slide the back pull-out assembly up against the installed casing and bolt it in place. Checking pump alignment will be necessary after step 9 below. For close coupled or non-back pull-out designs, reinstall the casing using the casing bolts. In all cases, torque the casing bolts in accordance with the pump Installation, Operation, and Maintenance (IOM) manual.
9. Reconnect the Pump
For back pull-out designs, the only steps remaining are to reinstall the spacer element to the existing coupling hubs along the pump and motor shaft, and make sure the mounting feet of the back pull-out assembly are bolted back into place on the pump baseplate. Realign the pump and motor. For close-coupled pumps, place the pump back and reconnect the inlet and outlet piping. For non-back pull-out pump and motor designs, replace the pump on the baseplate, reconnect the inlet and outlet piping, re-bolt the pump to the baseplate, reconnect the coupling and then realign the pump and motor.
10. Restart the Machine
Make sure you have refilled the pump casing by opening the inlet and outlet isolation valves. Some pump designs will require venting, so refer to your pump IOM. Before starting the pump, it is always a good idea to re-verify the rotation of the motor to make sure it is correct. This is done before reconnecting the pump and motor coupling. Bump the motor and verify rotation. Then reconnect the coupling, and the pump is ready to start.
11. Take Proper Safety Precautions
Always review safety precautions found in the pump IOM. Always use the Pump IOM when working on any pump. Install the mechanical seals using the specific instructions from the mechanical seal manufacturer. Lastly, always make sure the pump and motor are realigned within 001” – 002”. Misalignment will cause premature mechanical seal failure.
Ensuring a Secure and Efficient Seal Installation
When installing a new mechanical seal, it’s important to consider the condition of the pump casing, inlet and outlet valves, and overall system components. A centrifugal pump relies on a properly fitted seal to prevent fluid leaks and maintain efficiency. Double mechanical seals are often used for added protection in demanding applications, while casing bolts must be securely fastened to ensure stability. Since there are several types of seals available, choosing the right one for your power supply and operating conditions is key to long-term reliability.
PumpWorks Can Fulfil All Your Pump Sealing Needs
PumpWorks is the go-to company for all your mechanical seal installation needs. Our pump manufacturing company offers over 30 years of experience in the troubleshooting, selection, application, and repair of mechanical seals. We serve a wide range of process industries such as petroleum refining, chemical, food and beverage, water and wastewater, power, and more.
Our highly trained seal specialists and in-house industrial pump repair teams can service and repair all types of seals.
Check out our blog for more helpful tips and resources.
- Suction Specific Speed of Pumps
- Pump Wear Ring Material Selection
- Suction Gauge Pressure in Pumps
- Understanding & Mitigating Pump Seal Issues
- Centrifugal Pump Motor Torque and Speed
- Operating Pumps in Series vs. Parallel
- How To Read Pump Curves
Call PumpWorks today at 855.979.9139 or contact us online to learn more.